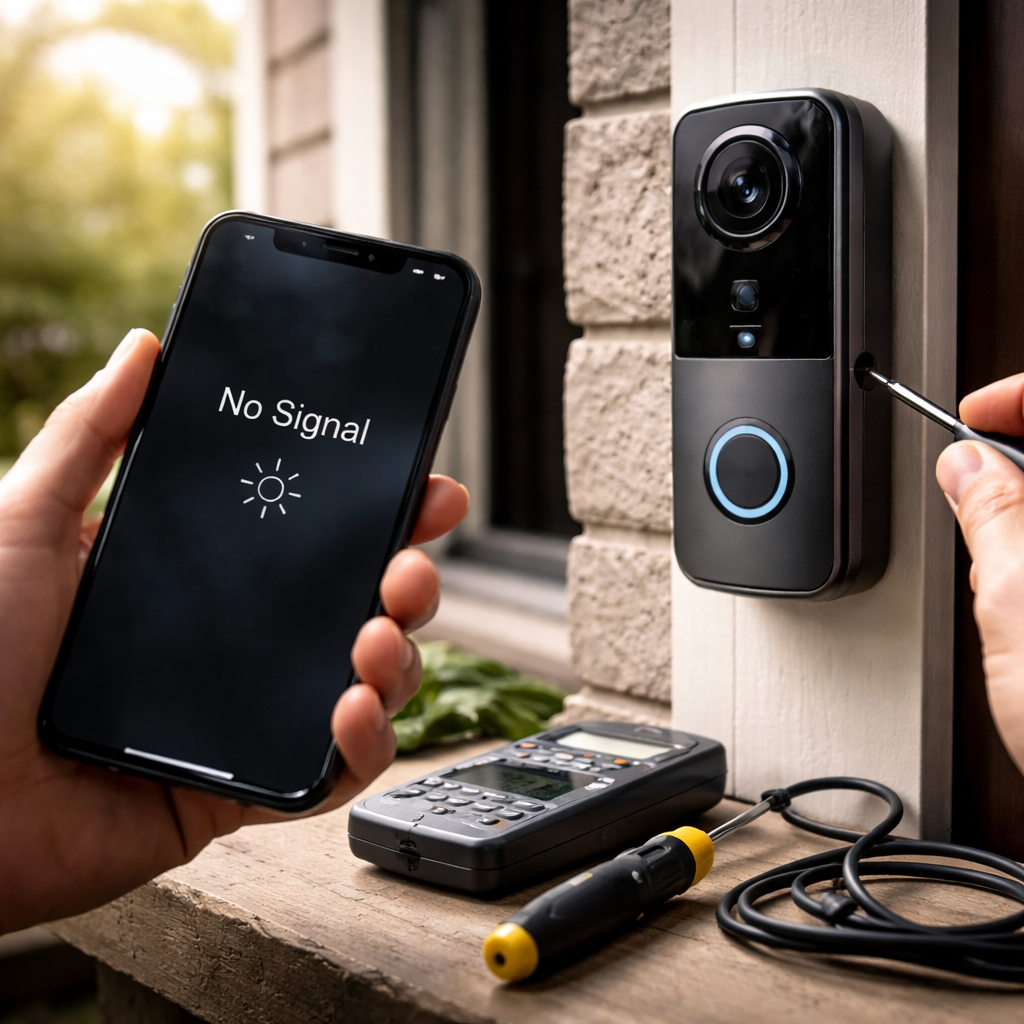
You pressed the button, heard nothing, saw nothing — and now you’re wondering why your doorbell camera not working situation has turned into a full-blown mystery. Before calling tech support or ordering a replacement, it’s worth knowing that most issues behind a silent or frozen doorbell camera are surprisingly fixable at home, often in under ten minutes.
Why doorbell cameras fail more often than you’d expect
Smart doorbell cameras are compact devices packed with hardware — a processor, wireless radio, motion sensor, speaker, microphone, and lens — all squeezed into a weatherproof shell mounted outdoors. That combination of complexity and exposure to the elements creates more failure points than people realize. Power fluctuations, firmware glitches, Wi-Fi instability, and even direct sunlight can each knock the device offline or degrade its performance significantly.
What makes troubleshooting tricky is that different symptoms often point to different root causes. A camera that shows a black screen is usually not the same problem as one that rings but won’t show live video, or one that goes offline every night. Matching the symptom to the correct fix saves time and prevents unnecessary resets that can wipe your settings.
Start here: the most common culprits
Rather than jumping straight to factory resets, work through the most frequently reported causes first. These cover the majority of real-world cases:
- Weak or dropped Wi-Fi signal at the front door
- Insufficient power supply or drained battery
- Outdated firmware on the device or the companion app
- Router reboot that changed DHCP assignments
- Blocked or dirty camera lens
- Overheating during summer months
- Expired cloud subscription affecting video storage
It’s also worth checking whether the issue is device-specific or app-related. If your doorbell chimes normally but the live view in the app keeps spinning, the problem is likely network or server-side — not the camera hardware itself.
Step-by-step: how to diagnose and fix the problem
Walk through these steps in order. Each one takes only a moment and rules out a layer of potential causes without disrupting your device settings.
Check power first
For wired doorbells, confirm the transformer is supplying the correct voltage — most smart video doorbells require between 16V and 24V AC. A standard older transformer rated at 8V–10V is often the silent killer of wired smart doorbell installations. Use a multimeter at the doorbell terminals to verify. For battery-powered units, check the charge level in the app; many cameras behave erratically when the battery drops below 20% rather than shutting off cleanly.
Evaluate your Wi-Fi signal strength
Signal strength at the camera’s location matters far more than signal strength inside your house. Walk to your front door with your phone and check the Wi-Fi bars or run a speed test. If you’re getting below 2 Mbps or the signal fluctuates, your camera will struggle to maintain a stable connection. A Wi-Fi extender placed closer to the door, or a mesh node, often solves intermittent offline issues entirely.
Most video doorbell cameras need a consistent upload speed of at least 2 Mbps to stream live video reliably. Anything lower and you’ll see freezing, buffering, or an app that shows the camera as offline even when it’s powered on.
Restart the device and your router
This sounds too simple to be real advice, but a full power cycle of both your router and the doorbell camera resolves a significant portion of connectivity and video stream issues. Unplug your router for 30 seconds, then restore power and wait two minutes before checking the camera. For battery doorbells, remove the battery, wait 15 seconds, and reinsert it. For wired units, cut power at the breaker briefly.
Update firmware and app
Check the manufacturer’s app for any pending firmware updates on the camera. Outdated firmware is a known cause of motion detection failures, night vision problems, and random reboots. Similarly, an outdated app version on your phone can cause display issues that look like camera failure but are actually a software rendering bug.
When the camera shows a black screen or no video
A black screen in live view is one of the most frustrating symptoms because it gives almost no visual feedback. Here’s a breakdown of what it usually means:
| Symptom | Likely Cause | Fix |
|---|---|---|
| Black screen in app, camera powered on | App cache issue or server-side outage | Clear app cache, check manufacturer’s status page |
| Black screen at night only | Night vision IR LEDs failed | Contact support or check warranty |
| Blurry or dark image during the day | Dirty or scratched lens | Gently clean lens with a microfiber cloth |
| Video freezes at exactly 30 seconds | Subscription lapsed or cloud storage full | Renew plan or clear stored clips |
Motion detection stopped working? Here’s why
Motion alerts going silent is a separate class of problem from the camera going offline. It can happen after a firmware update that resets sensitivity settings, or when motion zones get accidentally toggled off in the app. Open your camera’s settings and verify that motion detection is enabled, the sensitivity level hasn’t dropped to its lowest setting, and the scheduled time windows aren’t blocking alerts during the hours you need them.
Extreme temperatures also affect passive infrared sensors. In very hot weather, the difference in heat signature between a person and the ambient environment shrinks, making it harder for the sensor to detect movement. This is a hardware limitation rather than a fault, and positioning the camera away from direct sunlight exposure can help.
A practical tip before you give up
Before attempting a full factory reset — which erases all your settings, saved devices, and sometimes linked accounts — try removing the camera from your app and re-adding it as a new device. This forces a fresh authentication handshake between the camera and the cloud without wiping internal firmware settings. It’s a lesser-known middle step that fixes authentication and stream failures in many cases.
Also, check whether other smart home devices on the same network are experiencing issues at the same time. If your smart bulbs or plugs are also acting up, the problem likely sits with your router or ISP — not the doorbell camera at all.
When to actually replace the device
Hardware does fail, and not every doorbell camera issue can be fixed through software. Signs that point toward genuine hardware failure include: the device not appearing in the app at all despite being powered and within range, the IR night vision LEDs producing no glow (visible through a phone camera in a dark room), physical damage to the lens or housing from impact or water ingress, or the doorbell producing a burning smell or unusual heat.
Most manufacturers offer a one-year warranty at minimum, and some extend to two years for registered products. Before purchasing a replacement out of pocket, contact support with your model number and a description of the steps you’ve already taken — many companies will replace units that show hardware failure even slightly outside the standard warranty window, especially if you’ve been a consistent user of their ecosystem.
Keep it running smoothly going forward
Preventing future issues takes very little effort once you know where to focus. Check the camera’s mounting position seasonally — direct exposure to afternoon sun accelerates hardware aging. Enable automatic firmware updates if your device supports them. For battery models, set a reminder to charge before the level drops below 30%. And periodically clear the app cache on your phone, since accumulated data can cause performance slowdowns that look like camera problems but originate entirely in your pocket.
A doorbell camera that’s been running for a year or two without attention is statistically much more likely to act up than one that receives occasional check-ins. Five minutes of maintenance every couple of months keeps the device reliable and your front door genuinely protected.