Most people never think about backing up their iPhone until something goes wrong — a cracked screen, a stolen device, or a failed iOS update. Learning how to backup an iPhone before any of that happens is one of the simplest habits that can save you hours of frustration and years’ worth of photos, messages, and app data.
Two paths, one goal: iCloud vs. iTunes (Finder)
Apple gives you two main ways to create a backup, and neither one is universally better — it depends on your situation. iCloud backup works wirelessly in the background, while a local backup through iTunes (on Windows) or Finder (on Mac) stores everything directly on your computer. Understanding the difference helps you choose what actually fits your lifestyle.
| Feature | iCloud Backup | Local Backup (iTunes/Finder) |
|---|---|---|
| Storage location | Apple’s servers | Your computer |
| Requires Wi-Fi | Yes | No |
| Free storage limit | 5 GB (free tier) | Limited by computer space |
| Encryption option | Partial (automatic) | Full (optional, manual) |
| Speed | Slower | Faster |
If you rely on iCloud, keep in mind that Apple’s free plan offers only 5 GB of storage. For most iPhones with a decent amount of photos and apps, that fills up fast. You can either upgrade your iCloud+ plan or use a local backup as a free alternative.
How to back up your iPhone to iCloud
This method is ideal if you want automatic, hands-off protection. Once set up, your iPhone backs itself up every night while it charges — as long as it’s connected to Wi-Fi and has enough iCloud storage available.
- Open the Settings app on your iPhone.
- Tap your name at the top to open Apple ID settings.
- Select iCloud, then tap iCloud Backup.
- Toggle on Back Up This iPhone.
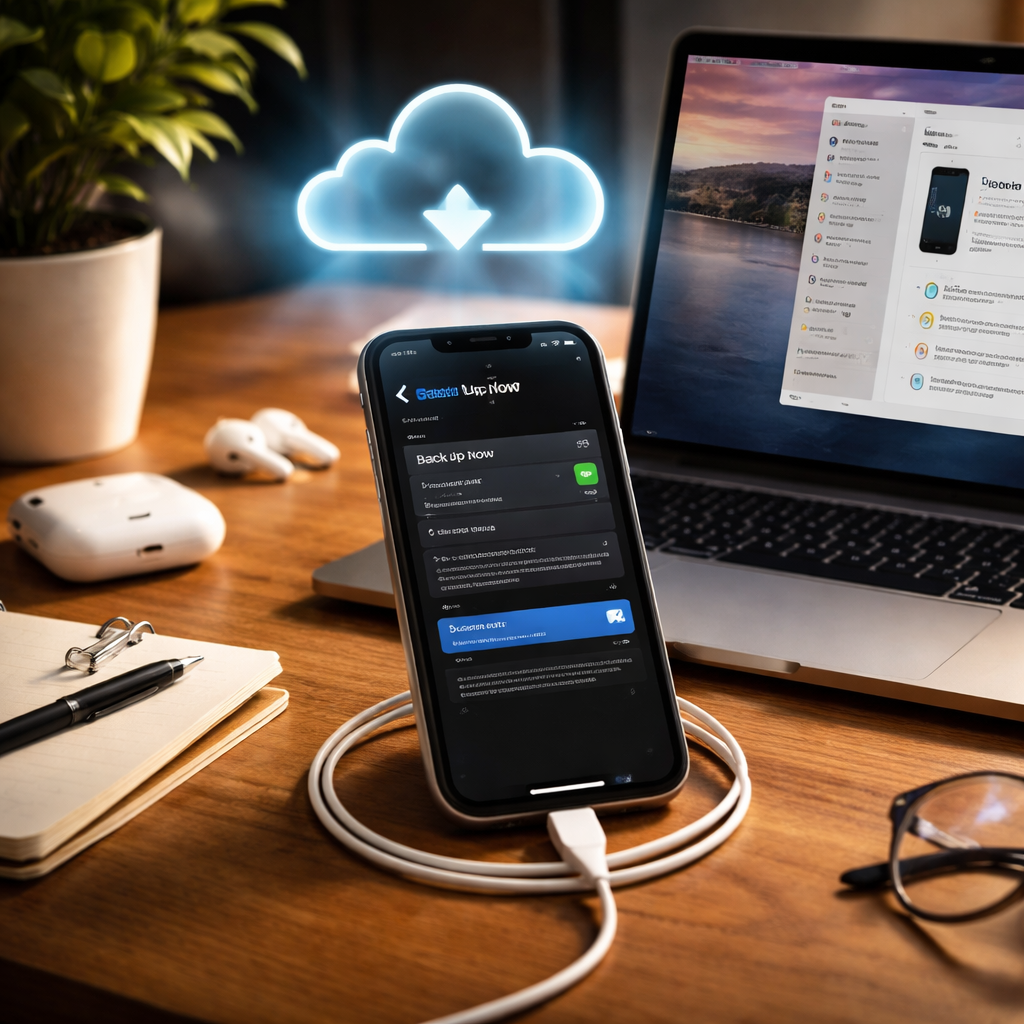
- To run a manual backup immediately, tap Back Up Now and keep the screen active until it finishes.
You’ll see the date and time of the last successful backup right below the toggle. If it shows several days ago, that’s a sign something is blocking it — usually a lack of storage or an unstable Wi-Fi connection.
A backup you never check is a backup you can’t trust. Make it a habit to glance at the “Last Backup” timestamp at least once a week.
How to back up your iPhone to a computer
A wired backup to your Mac or PC is the most complete snapshot of your device. It’s faster, doesn’t depend on cloud storage, and — if you enable encryption — saves data that iCloud skips by default, like saved passwords, Health data, and Wi-Fi network settings.
Here’s how to do it on a Mac running macOS Catalina or later:
- Connect your iPhone to your Mac using a USB or USB-C cable.
- Open a Finder window and select your iPhone from the left sidebar under Locations.
- Click the General tab, then choose Back up all of the data on your iPhone to this Mac.
- To encrypt the backup, check the box next to Encrypt local backup and set a password you’ll remember.
- Click Back Up Now and wait for the process to complete.
On Windows or older Macs, the process is identical — just open iTunes instead of Finder. The interface looks slightly different, but the steps follow the same logic.
What gets saved — and what doesn’t
One thing that surprises a lot of people: not everything on your iPhone is included in a standard backup. Knowing what’s covered helps you avoid nasty surprises during a restore.
A typical iCloud or local backup includes your app data, device settings, text messages (SMS and iMessage), call history, photos and videos (if not already stored in iCloud Photos), ringtones, and HomeKit configurations. It does not include content you’ve purchased from the App Store or Apple Music library — those can be re-downloaded separately.
WhatsApp chats, for example, have their own separate backup system through iCloud Drive. So if you’re switching phones and want your chat history, you’ll need to trigger a WhatsApp backup inside the app before restoring your new device.
How often should you actually back up?
There’s no single right answer, but a useful way to think about it: how much data are you okay losing? If you take photos every day, chat constantly, or use your phone for work, a daily automatic iCloud backup is a reasonable baseline. If your phone use is lighter, a manual backup once a week is plenty.
There are also specific moments when backing up manually before you proceed just makes sense:
- Before installing a major iOS update
- Before sending your phone in for repair
- Before doing a factory reset
- Before switching to a new iPhone
Treating these moments as natural checkpoints — rather than an afterthought — takes less than five minutes and removes a significant amount of risk from an otherwise stressful situation.
Your backup is only useful if you can restore from it
A backup that exists but can’t be restored is essentially worthless. The best way to verify yours works is to check the backup details in your iCloud settings or Finder, and make sure the file size looks reasonable — a nearly empty backup file could mean something went wrong during the process.
If you ever need to restore, the process is straightforward: during iPhone setup (or through Settings > General > Transfer or Reset iPhone > Erase All Content and Settings), you’ll be given the option to restore from an iCloud backup or from a local backup via Finder or iTunes. Just choose the most recent backup and follow the on-screen instructions.
The peace of mind that comes from knowing your data is safe and recoverable is genuinely worth the small effort it takes. Once you build the habit, it becomes second nature — something you do without even thinking about it, like charging your phone before bed.