Most people have overcooked or undercooked a boiled egg at least once — and the frustrating part is that it looks the same on the outside either way. Knowing how to boil eggs perfectly comes down to a few precise variables: water temperature, timing, and what happens immediately after cooking. Once you understand the logic behind the process, you stop guessing and start getting consistent results every single time.
Why the “just boil it” approach keeps failing
Dropping a cold egg into aggressively boiling water, setting a random timer, and hoping for the best is a recipe for disappointment. Eggs are more sensitive to heat than most people realize. The white and the yolk have different protein structures and set at different temperatures — the white firms up around 62–65°C (144–149°F), while the yolk solidifies closer to 70°C (158°F). That small window is exactly why timing matters so much.
Another overlooked factor is egg size. A large egg and a medium egg will behave differently in the same pot of water for the same amount of time. Similarly, eggs taken straight from the refrigerator need slightly longer than room-temperature ones. These aren’t minor technicalities — they’re the difference between a jammy, golden yolk and a chalky, grey-ringed one.
Cold water start vs. boiling water start
There are two main schools of thought when it comes to method, and both can work — if you understand what each one does.
The cold water start means placing eggs in a pot, covering them with cold water, and bringing everything up to a boil together. This is gentler on the egg and reduces the chance of cracking, but it makes precise timing harder because the “starting point” is less defined.
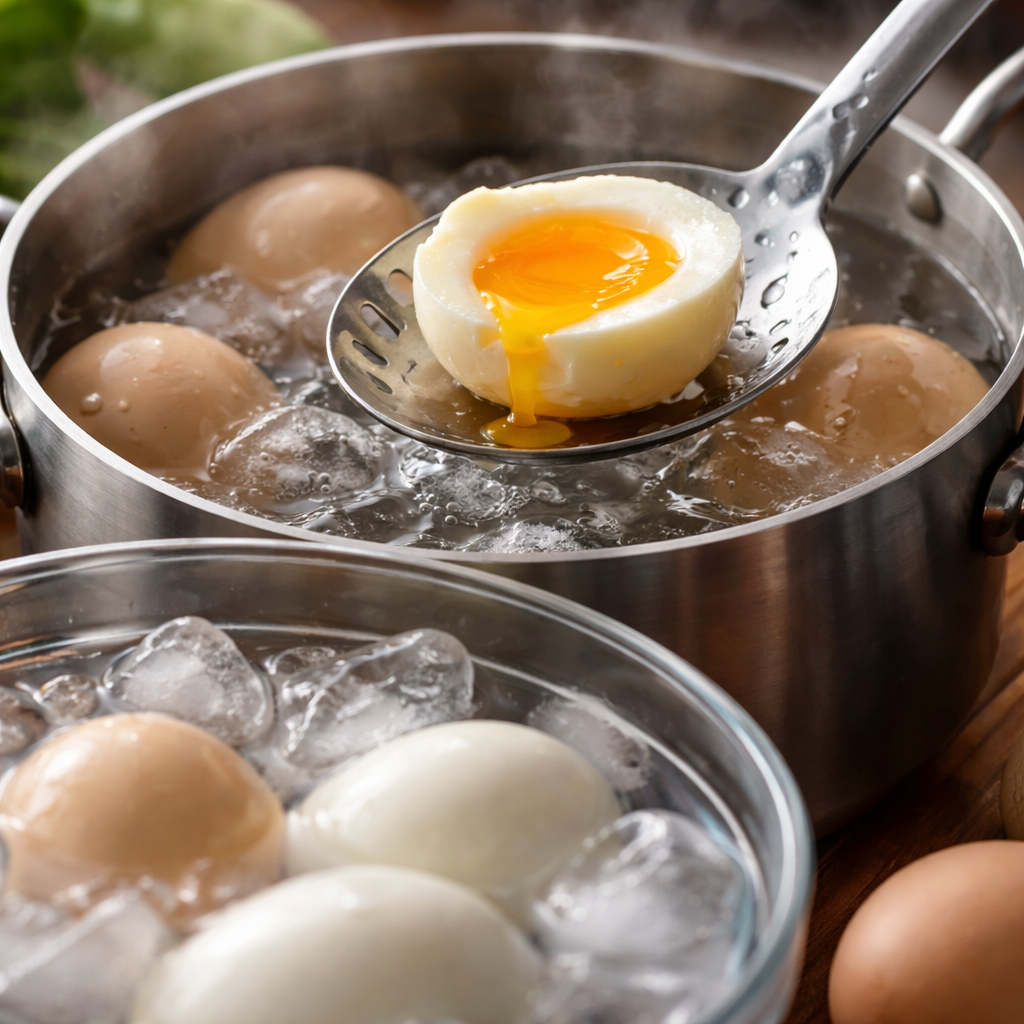
The boiling water start — lowering eggs into already-boiling water using a spoon — gives you a clear, consistent starting point for your timer. It’s the preferred approach for anyone who wants repeatable results. The slight risk of cracking can be minimized by not using eggs straight from the fridge and by lowering them carefully rather than dropping them.
| Doneness level | Boiling water start (large egg) | Result |
|---|---|---|
| Soft boiled (runny yolk) | 6 minutes | Firm white, liquid golden center |
| Jammy (semi-soft yolk) | 7–8 minutes | Set white, fudgy, slightly soft yolk |
| Hard boiled (fully set) | 10–12 minutes | Fully firm white and yolk, no grey ring |
These times assume large eggs at room temperature in actively simmering (not violently boiling) water. Adjust by 30–60 seconds for refrigerator-cold eggs.
The ice bath step that most people skip
Once your timer goes off, the cooking doesn’t automatically stop — residual heat inside the egg continues to set the proteins for another minute or two. This is why transferring eggs immediately to a bowl of ice water is not optional if you care about the final texture.
An ice bath for 5 minutes doesn’t just stop cooking — it also makes peeling significantly easier by causing the egg to contract slightly away from the shell membrane.
If you don’t have ice on hand, running the eggs under very cold tap water for several minutes works as a reasonable substitute, though it’s slightly less effective at halting the heat quickly.
Peeling without destroying the egg
Peeling a freshly hard boiled egg can be maddening — the shell clings, the membrane tears, and suddenly your beautifully cooked egg looks like it survived something unpleasant. Here’s what actually helps:
- Use eggs that are at least a week old. Very fresh eggs are notoriously difficult to peel because the pH of the white is lower, causing it to bond more tightly to the inner membrane.
- After the ice bath, gently tap the egg all over on a hard surface to create a network of small cracks rather than one large break.
- Peel under a thin stream of running water — it helps the shell slide off cleanly.
- Start peeling from the wider end where the air pocket sits, as there’s naturally a small gap there to work from.
A few things worth knowing about altitude and water
If you live at high altitude, water boils at a lower temperature — around 93°C (200°F) at 2,000 meters above sea level, compared to 100°C (212°F) at sea level. This means eggs cook more slowly, and you’ll need to add 1–2 extra minutes to the timings above. It’s a small adjustment, but it explains why your usual method might produce different results when you travel.
Water hardness doesn’t significantly affect cooking time, but adding a small pinch of salt or a splash of white vinegar to the water can help seal any micro-cracks in the shell and prevent the white from leaking out during cooking.
- Always use a timer — eyeballing it doesn’t work with eggs.
- Simmer, don’t aggressively boil — violent bubbling can crack shells and make whites rubbery.
- If you’re cooking multiple eggs, don’t overcrowd the pot; they should sit in a single layer.
- Label your hard boiled eggs in the fridge with a pencil — they look identical to raw ones and the confusion is real.
What the grey ring actually tells you
That greenish-grey ring around the yolk of an overcooked hard boiled egg is a chemical reaction between sulfur in the egg white and iron in the yolk, forming iron sulfide. It’s harmless to eat, but it signals that the egg was cooked too long or cooled too slowly. The fix is simple: stick to the recommended timing and use the ice bath every time — no ring, no rubbery texture, no complaints.
Getting this right isn’t about complicated technique. It’s about paying attention to a handful of variables that are easy to control once you know what they are. A well-boiled egg — whether soft, jammy, or fully hard — is one of the most satisfying and versatile things you can make in a kitchen, and now you have everything you need to nail it consistently.