Most laptop screens collect more bacteria and grime than a kitchen countertop — and yet knowing how to clean a laptop screen properly is something most people never actually learn. A few wrong moves with the wrong cloth or liquid can permanently damage the anti-glare coating or leave microscopic scratches that catch the light at every angle. The good news is that doing it right takes less than five minutes once you know what you’re actually dealing with.
Why your screen gets dirty faster than you think
Laptop screens attract dust particles through static electricity — the same charge that keeps the display running also pulls fine debris toward its surface throughout the day. Add fingerprints from adjusting the lid angle, sneezing or coughing near the open screen, and the occasional coffee splash, and you’ve got a fairly hostile environment for a sensitive piece of glass or matte plastic.
Modern laptop displays use one of two surface types: glossy glass panels (common on consumer ultrabooks and MacBooks) and matte anti-reflective coatings (found on most business and productivity laptops). These two surfaces require slightly different care, which is why generic advice sometimes leads to more harm than good.
What you actually need — and what you don’t
Before you reach for anything, it helps to understand which materials are safe and which ones silently destroy your display over time. The cleaning supply market is full of products that are technically labeled for electronics but contain ingredients that degrade screen coatings with repeated use.
| Safe to use | Never use on a screen |
|---|---|
| Microfiber cloths (dry or slightly damp) | Paper towels or tissues |
| Distilled water | Window cleaner (Windex and similar) |
| Isopropyl alcohol 70% (for glass only) | Household all-purpose sprays |
| Screen-specific wipes (alcohol-free) | Acetone or nail polish remover |
| Compressed air (for keyboard area) | Rough fabric like paper or denim |
Paper towels deserve a special mention here — they feel soft to the touch but are actually abrasive at a microscopic level. Even a single pass across a matte screen with a paper towel can leave faint circular scratches that accumulate into visible haze over weeks of repeated use.
Step-by-step screen cleaning that actually works
The process itself is straightforward, but the order of steps and the pressure you apply matter more than most guides admit. Here’s how to do it without causing accidental damage:
- Power down your laptop completely and unplug it. A dark screen makes dust and smudges far easier to see, and there’s no risk of pressing active pixels unevenly.
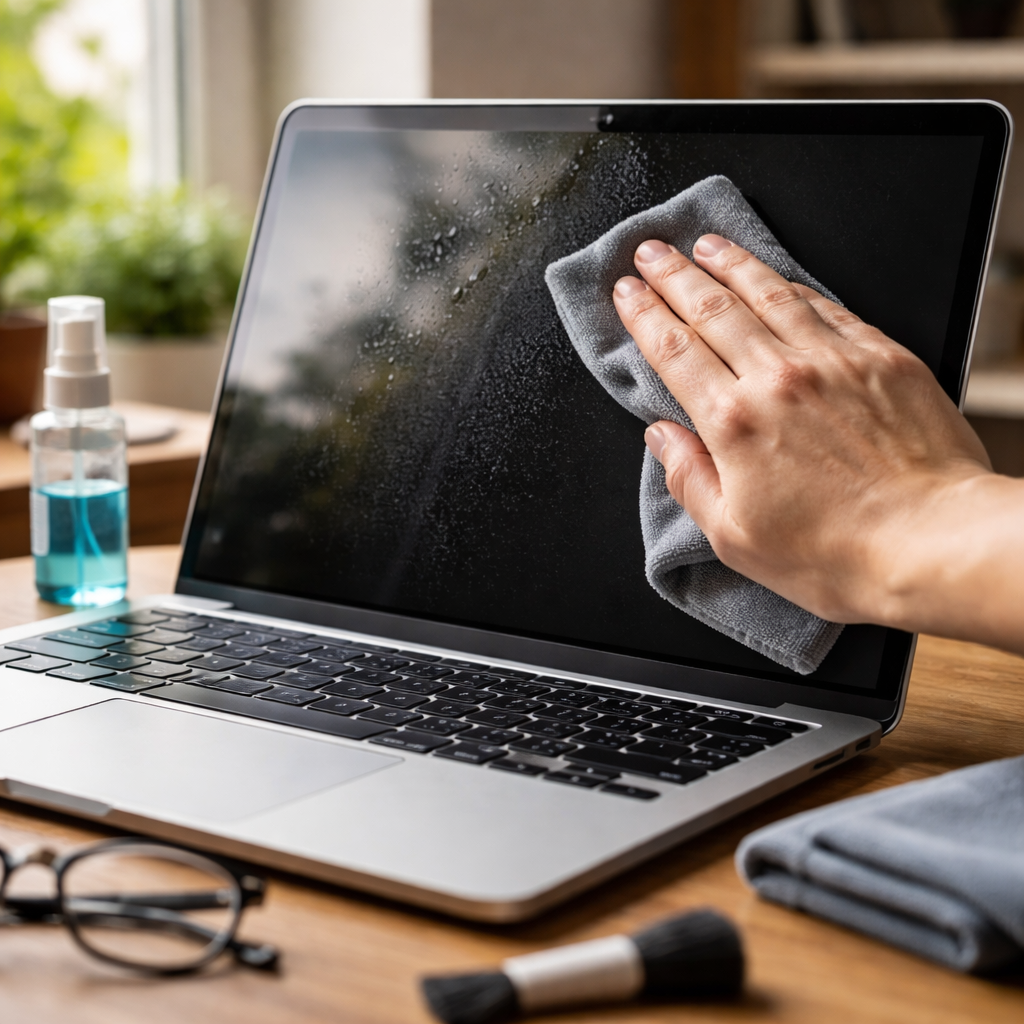
- Take a dry microfiber cloth and wipe the screen in a single direction — top to bottom or side to side. Avoid circular motions, which spread oils rather than lifting them.
- For stubborn smudges, lightly dampen one corner of the microfiber cloth with distilled water. Never spray liquid directly onto the screen.
- Use minimal pressure. The LCD or OLED panel beneath the surface is pressure-sensitive — pressing too hard can create temporary or even permanent bright spots.
- Allow the screen to fully air-dry before closing the lid. Even minimal moisture trapped between the screen and keyboard can damage both surfaces.
If you’re working on a glass-panel display (like most MacBooks or premium Windows ultrabooks), a 70% isopropyl alcohol solution on a microfiber cloth is safe for occasional deep cleaning. For matte anti-glare coatings, stick to distilled water only — alcohol can strip the coating over time.
Dealing with specific types of stains
Not all screen contamination is equal. Dust and fingerprints are routine maintenance, but some situations call for a more targeted approach.
Grease and fingerprint smears
These are the most common issue and respond well to a very slightly damp microfiber cloth. The key is a single slow pass rather than vigorous scrubbing — let the cloth fiber do the work, not the pressure of your hand.
Dried liquid droplets
Coffee, tea, or water that has dried on the surface needs to be softened before wiping. Hold a damp (not wet) cloth against the spot for about ten seconds to rehydrate it, then gently lift — don’t scrub. Scrubbing dried residue pushes particles across the surface and increases the chance of micro-scratches.
Dust in screen edges and bezels
The thin gap between the screen glass and the plastic bezel collects fine dust that a cloth won’t reach. A soft-bristle brush — the type used for camera lens cleaning — works well here. Compressed air is another option, but hold the can upright and keep at least 20 cm of distance to avoid moisture from the propellant reaching the screen surface.
How often should you clean your screen
There’s no universal schedule, but a practical approach is to do a dry microfiber wipe every few days and a slightly damp clean once every two to three weeks. If you work in a dusty environment, eat near your laptop, or share the device with others, you’ll likely need to clean it more frequently.
The bigger risk isn’t cleaning too often — it’s cleaning incorrectly every single time. Using the right materials consistently is more important than frequency.
A few things worth keeping in mind long-term
Screen care is part of a broader habit of laptop maintenance that directly affects device longevity. Displays that are routinely cleaned with appropriate tools retain their coating quality for years longer than those wiped down with whatever cloth is nearby. Given that screen replacements are among the more expensive laptop repairs — often running into the hundreds of dollars depending on the model — a two-dollar microfiber cloth is a reasonable investment.
One overlooked factor is the keyboard. When you close the lid, keycaps press directly against the screen surface. If your keyboard is dusty or oily, that grime transfers to the screen every time the laptop is shut. Keeping both surfaces clean in parallel makes each individual cleaning session faster and more effective.
And if you ever pick up a pre-owned laptop or notice a screen that looks hazy despite wiping — that’s often a coating that’s already been degraded by improper cleaning products. At that point, there’s no reversal, only prevention of further damage going forward.