Most paper shredders jam at the worst possible moment — right when you’re halfway through a stack of sensitive documents. Knowing how to fix a jammed paper shredder without causing further damage is a skill that can save you both money and frustration, especially since many jams are completely fixable at home in under ten minutes.
Why shredders jam in the first place
Before jumping into solutions, it helps to understand what actually causes the problem. Shredder jams aren’t random — they almost always trace back to a handful of predictable causes. Overloading the machine is the most common culprit. Every shredder has a sheet capacity printed on the box or the unit itself, and consistently feeding in more than that number weakens the motor and causes paper to bunch up around the cutting blades.
Other frequent causes include shredding materials the machine wasn’t designed to handle, such as cardboard, thick envelopes with bubble wrap lining, or credit cards (unless the model specifically supports them). Running the shredder continuously for too long without a cooldown break also contributes to jams, as the motor overheats and loses cutting power mid-cycle.
What you’ll need before you start
You don’t need any special tools for most shredder unjamming situations. Here’s what typically comes in handy:
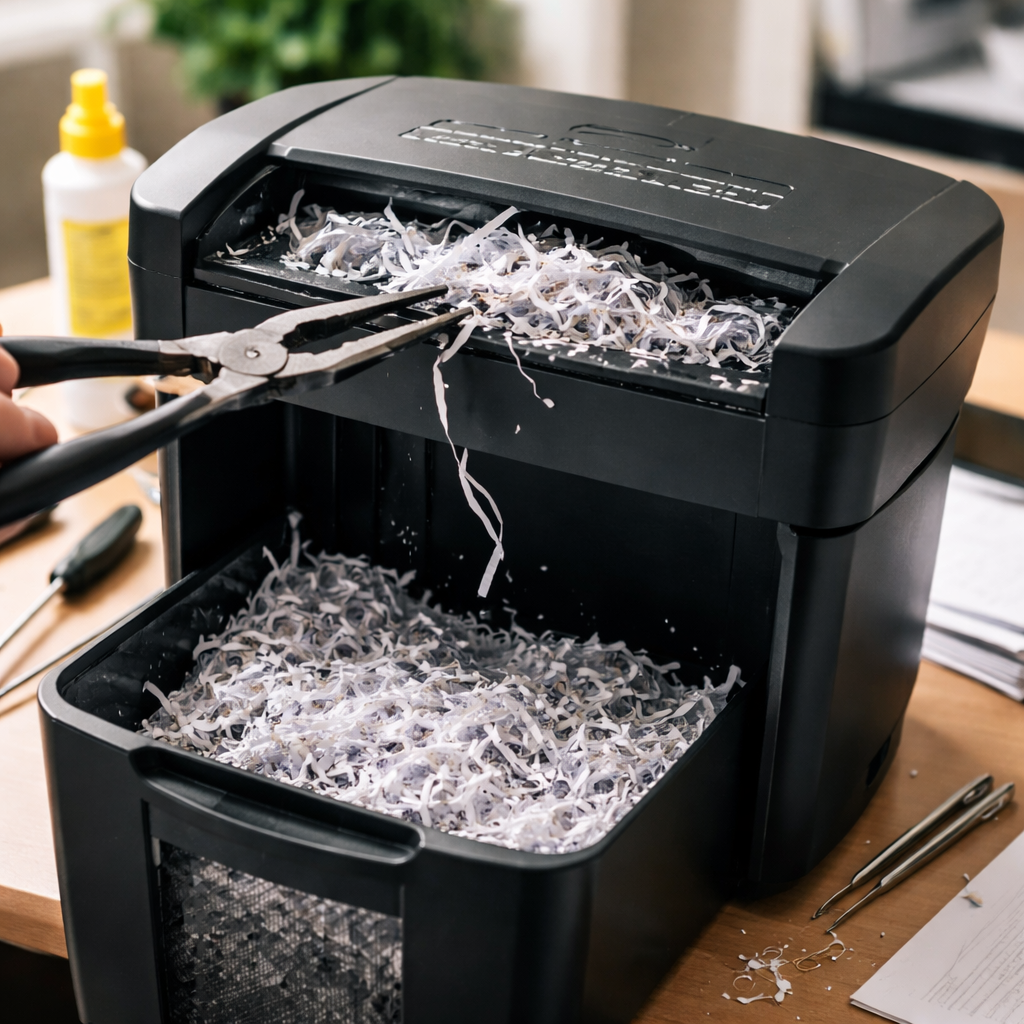
- A pair of needle-nose pliers or tweezers (for pulling out stuck paper scraps)
- Shredder oil or light mineral oil (essential for lubrication after clearing the jam)
- A dry cloth or paper towels
- A flat-head screwdriver (only if you need to access the blade housing — check your manual first)
Always unplug the shredder from the power outlet before doing anything else. This isn’t optional — the blades are sharp and the motor can engage unexpectedly, even on machines with auto-start sensors.
Step-by-step: clearing a paper jam safely
Once the unit is unplugged, lift the shredder head off the bin and set it on a flat surface. Look into the feed slot from the top — you should be able to see where the paper has bunched or folded. If there’s a visible flap of paper sticking out, try pulling it gently and evenly. Yanking hard almost always tears the paper and leaves more pieces lodged inside.
If the paper won’t move by hand, most shredders have a reverse function. Plug the machine back in, switch it to reverse mode, and run it for five to ten seconds. This direction of blade rotation often loosens compacted paper and pushes it back up through the feed slot. Once enough material has come free, switch the machine off, unplug it again, and remove the loosened paper by hand.
Alternating between forward and reverse several times — rather than holding one direction continuously — tends to dislodge stubborn jams much more effectively than a single long reverse cycle.
For particularly stubborn blockages, use needle-nose pliers to carefully extract small torn pieces that are wrapped around the blade drum. Work slowly and don’t force anything. If you can’t reach the stuck material without disassembling the unit, consult your manufacturer’s manual — some models allow the blade housing to be separated from the motor unit for cleaning.
Lubrication: the step most people skip
Clearing the jam is only half the job. Shredder blades need lubrication to cut cleanly and resist future jams. Without it, even a freshly cleared machine is likely to jam again soon, because dry blades create more friction and paper fragments stick to the metal surfaces.
To oil a shredder correctly, apply a thin zigzag line of shredder oil across a standard sheet of A4 or letter-size paper, then run that sheet through the machine in forward mode. Follow it immediately with a few blank sheets to distribute the oil evenly across all the blades. Avoid over-oiling — excess lubricant can drip into the motor housing.
| Shredder type | Recommended oiling frequency |
|---|---|
| Strip-cut shredder | Every 30 minutes of use |
| Cross-cut shredder | Every basket emptying or every 2 hours of use |
| Micro-cut shredder | Every 30 minutes of use (higher blade density) |
When the reverse function doesn’t work
Some older or budget shredders don’t have a reverse mode, and others have motors too weak to push back a heavy jam. In those cases, the approach changes slightly. With the machine unplugged, try manually rotating the blade drum using a pencil or pen inserted through the feed slot — rotate away from you, which corresponds to the reverse direction. This can free up enough material to pull it out by hand.
If that doesn’t work either, remove the shredder head from the waste bin and look at the blade mechanism from underneath. Paper scraps sometimes accumulate on the underside and can be removed with tweezers without needing to open the unit. A can of compressed air can also dislodge small fragments from between the blades.
Practical tips to prevent jams going forward
Once your shredder is running again, a few simple habits will significantly reduce how often you end up in this situation.
- Always stay within the sheet capacity — if the limit is 8 sheets, feed 6 to give yourself a margin.
- Remove staples and paper clips before shredding, even if your model claims to handle them. The claim is often true but only for occasional pieces, not dozens per session.
- Let the shredder rest for at least 20–30 minutes if the thermal protection cuts in (the machine stops automatically).
- Empty the waste bin before it gets completely full — a packed bin restricts airflow and causes shredded material to back up into the blades.
- Store the shredder in a cool, dry location and keep the feed slot covered when not in use to prevent dust buildup.
When it makes more sense to replace than repair
There are situations where fixing a jam reveals a deeper problem. If the motor makes a grinding or burning smell after you’ve cleared the paper, the internal mechanism may be damaged. Similarly, if the blades no longer cut cleanly even after oiling — producing long uncut strips or uneven shreds — the cutting heads may be worn beyond effective use.
Entry-level shredders, particularly those under $40–50, are often not economical to repair professionally. The cost of a service visit or replacement parts can exceed the price of a new unit. Mid-range and commercial models, on the other hand, usually have replacement blades and motor components available, making repair worthwhile.
Knowing the difference between a jam and a mechanical failure saves you time. A jam has a physical cause you can see and remove. A mechanical failure usually shows up as persistent noise, burning odor, or the machine refusing to run even after the blockage is cleared. If you’re dealing with the latter, contact the manufacturer’s support line — many brands offer troubleshooting assistance even for out-of-warranty units.