A single sticky key can turn typing into a frustrating experience — and if you’ve ever dealt with it, you know how quickly it disrupts your workflow. Learning how to fix a keyboard with sticking keys doesn’t require professional tools or technical expertise; in most cases, the solution is simpler than you’d expect and takes less than an hour to complete.
Why keys stick in the first place
Before diving into fixes, it helps to understand what’s actually happening beneath the keycap. Most sticking key problems fall into one of three categories: physical debris buildup, liquid damage, or worn/damaged switch mechanisms. Each cause calls for a slightly different approach, so correctly identifying the source of the problem saves time and prevents unnecessary disassembly.
Crumbs, dust, and pet hair are the most common culprits. Over time, particles accumulate under and around keycaps, creating resistance that makes pressing and releasing keys feel sluggish or uneven. Liquid spills — even small splashes of coffee or juice — leave behind sticky residue that bonds to the switch housing once the liquid evaporates. In older keyboards, the plastic components themselves can warp or the rubber dome membranes can degrade, causing keys to register inconsistently or feel physically stuck.
What you’ll need before you start
Gathering the right supplies before you begin makes the process much smoother. You won’t need anything exotic — most of these items are already at home or available at any electronics or hardware store.
- Compressed air can (for blowing out debris)
- Keycap puller or a thin flat tool (a spudger works well)
- Isopropyl alcohol at 70% concentration or higher
- Cotton swabs and lint-free microfiber cloths
- Small soft-bristle brush (a clean toothbrush is fine)
- Shallow bowl or container for soaking keycaps
- Tweezers for removing stubborn debris
One thing worth noting: avoid using water directly on the keyboard internals, and stay away from harsh household cleaners that can damage plastic or leave corrosive residue. Isopropyl alcohol evaporates quickly and is safe for electronics when used carefully.
Cleaning without removing keycaps: the quick approach
If the sticking is mild or you’re short on time, start with the non-invasive method. It won’t fix every problem, but it often resolves cases caused by surface-level debris.
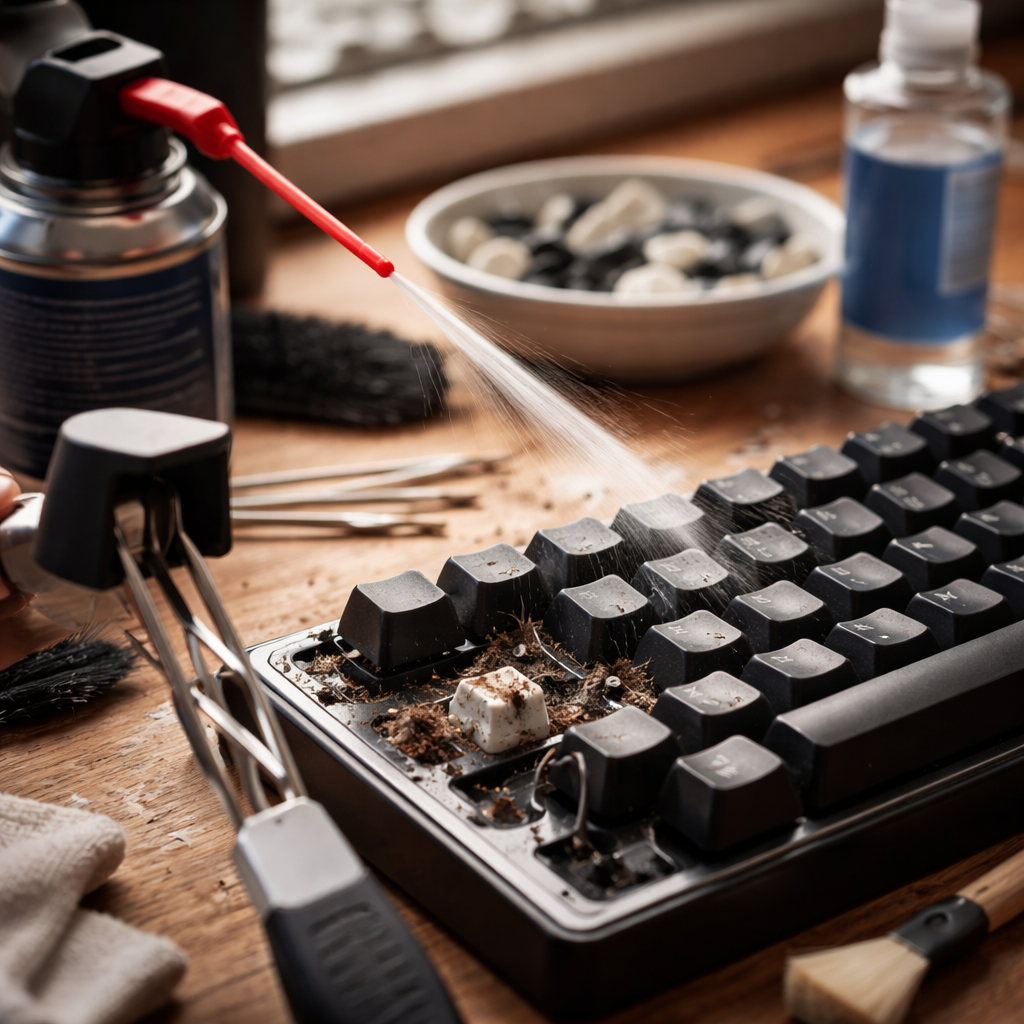
Hold the keyboard at roughly a 45-degree angle and use compressed air in short bursts to dislodge dust and crumbs from between the keys. Move the nozzle systematically across the keyboard rather than concentrating on one area. After blowing out loose particles, use a soft brush to sweep away anything that shifted but didn’t fully exit. For keys that feel tacky, dampen a cotton swab with isopropyl alcohol and gently run it along the edges of the affected key. Let it dry completely — usually two to three minutes — before testing.
Always power off a wired keyboard and unplug it before cleaning. For wireless keyboards, remove the batteries or turn off the power switch. Cleaning a live keyboard risks accidental key presses and, in rare cases, short circuits if liquid is involved.
Removing and deep cleaning keycaps
When surface cleaning doesn’t resolve the issue, removing the keycaps gives you direct access to the switch and housing beneath. This is where most serious buildup hides.
Use a keycap puller or carefully wedge a flat tool under two opposite corners of the keycap and lift evenly. Avoid prying from one side only — this can snap the plastic clips. Larger keys like the spacebar, shift, and enter often have stabilizer wires underneath; note their position before removing and handle them gently to avoid bending.
Once removed, place the keycaps in a bowl of warm water with a small drop of mild dish soap. Let them soak for fifteen to twenty minutes, then rinse and dry thoroughly on a clean cloth. Keycaps must be completely dry before reinstalling — moisture trapped under a keycap can cause new problems. While the caps dry, use a cotton swab dipped in isopropyl alcohol to clean around the switch housing and the board surface beneath where each key sits.
| Problem type | Likely cause | Recommended fix |
|---|---|---|
| Key feels sluggish or slow to return | Debris under keycap or around switch | Compressed air + keycap removal and cleaning |
| Key feels sticky or tacky | Dried liquid residue | Isopropyl alcohol cleaning of switch area |
| Key doesn’t register when pressed | Switch damage or membrane wear | Switch replacement (mechanical) or new keyboard |
| Multiple keys stick after a spill | Liquid penetration into board | Full disassembly, isopropyl flush, drying period |
Dealing with liquid spill damage
Spills deserve their own section because the response timing matters significantly. If a spill just happened, act immediately: unplug the keyboard, flip it upside down to let liquid drain away from the electronics, and blot — don’t rub — visible moisture with a dry cloth. Don’t use heat sources like a hairdryer, as this can warp plastic components and push residue deeper into the board.
After the initial response, let the keyboard air-dry face down for at least 24 to 48 hours before attempting to use or clean it further. Once dry, remove all keycaps and use isopropyl alcohol on a swab to work through the residue left by sugary drinks or anything other than plain water. Dried sugar creates a particularly stubborn bond, so you may need to repeat the cleaning process two or three times on heavily affected keys.
When cleaning isn’t enough
Some sticking key problems point to mechanical failure rather than dirt or residue. On mechanical keyboards, individual switches can be replaced — this is one of the key advantages of that keyboard type. Switch replacement requires a soldering iron on most boards, though hot-swap keyboards allow you to swap switches without any soldering at all. If you’re comfortable with basic electronics work, replacing a faulty switch is a worthwhile repair that restores the keyboard to full function.
Membrane keyboards — the flat, quiet type found in many office and laptop-style external keyboards — are harder to repair at the switch level. If cleaning doesn’t resolve the issue and the keyboard is older, replacement is often more practical than disassembly and internal repair. Laptop keyboards add another layer of complexity, since the key mechanism sits much closer to the motherboard and is often not designed for user servicing. In those cases, professional cleaning by a technician or a manufacturer service center is usually the safer route.
Keeping keys from sticking again
Fixing the problem once is satisfying — but a bit of ongoing maintenance means you’ll rarely need to deal with it again. Regular light cleaning every few weeks keeps debris from building up to the point where it causes issues. A quick pass with compressed air and a brush takes about two minutes and makes a real difference over time.
- Keep food and drinks away from your keyboard, or use a keyboard cover
- Wash your hands before extended typing sessions to reduce oil and residue transfer
- Store keyboards in a dust-free area or cover them when not in use
- Use compressed air on a monthly basis even if no issues are visible
- For mechanical keyboards, consider re-lubricating switches annually with a switch-safe lubricant
None of these habits require significant effort, but they collectively keep your keyboard in reliable condition for much longer than average. A keyboard that’s properly maintained tends to last years beyond its expected lifespan — and that’s a return on very little investment of time.