That constant sound of water trickling in the background is more than just annoying — it quietly drains your water bill every single day. Knowing how to fix a running toilet is one of the most practical home repair skills you can pick up, and the good news is that in most cases, you don’t need a plumber or any special tools to solve it.
Why toilets keep running and what’s actually happening inside the tank
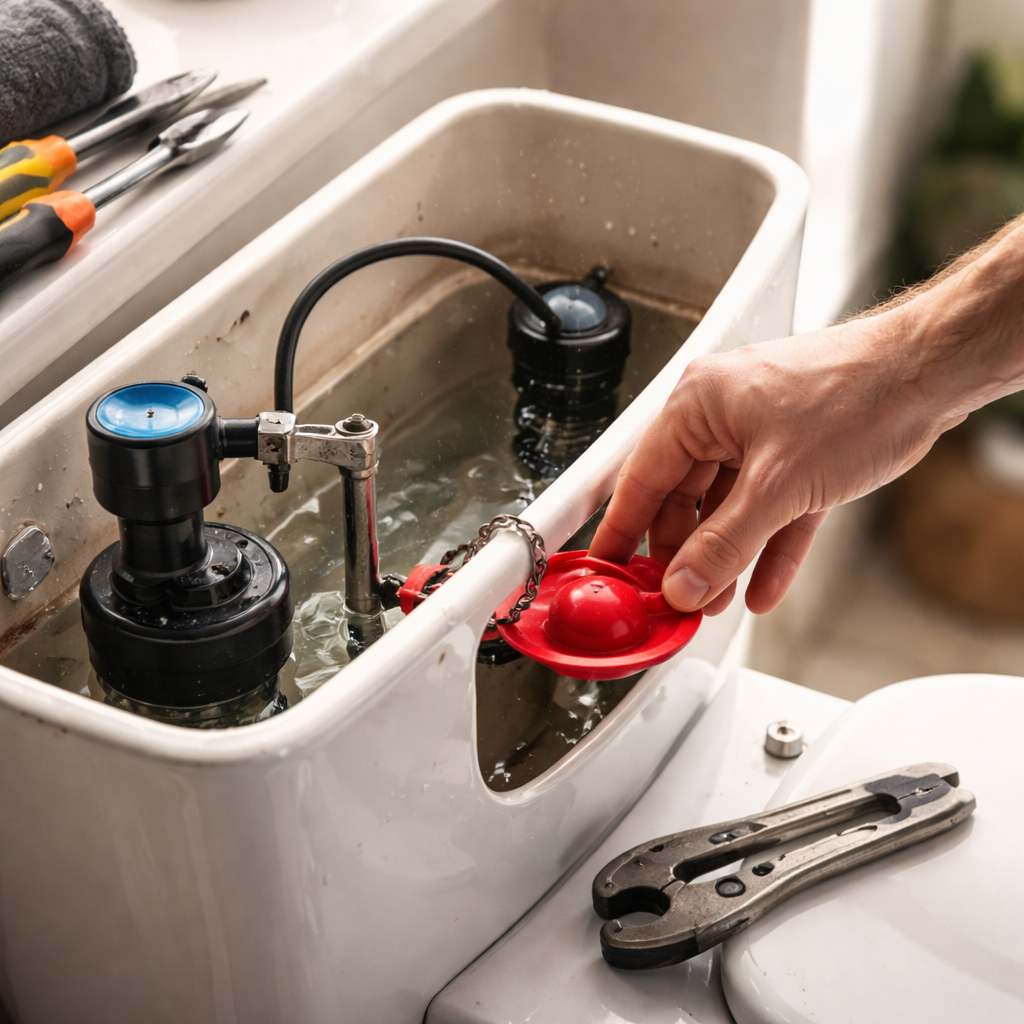
Before grabbing any tools, it helps to understand what’s going on behind the scenes. The toilet tank holds a surprisingly simple mechanism, and when something goes wrong, it’s usually one of just a few components at fault.
When you flush, water exits the tank through the flush valve at the bottom, then the tank refills via the fill valve. A float attached to the fill valve rises with the water level and signals the valve to shut off when the tank is full. The flapper — a rubber seal at the bottom of the tank — closes after the flush to hold the water in place.
When any part of this system fails, water keeps flowing. The three most common culprits are a faulty flapper, a misadjusted or broken float, and a worn fill valve.
How to diagnose the problem before you start
A quick dye test can tell you a lot. Drop a few drops of food coloring into the tank — not the bowl — and wait about 15 minutes without flushing. If color appears in the bowl, your flapper isn’t sealing properly. If the tank overflows into the overflow tube (a vertical pipe in the center of the tank), your float is set too high or the fill valve is stuck open.
A running toilet can waste anywhere from 200 to over 1,000 gallons of water per day depending on the severity of the leak — making it one of the most common sources of household water waste.
Fixing a worn or warped flapper
The flapper is the most frequent cause of a running toilet, and replacing it is a beginner-friendly fix that takes about 15 minutes.
- Turn off the water supply valve located at the base of the toilet (turn it clockwise).
- Flush the toilet to empty the tank.
- Unhook the old flapper from the pegs on either side of the flush valve and disconnect the chain from the flush handle arm.
- Take the old flapper to a hardware store to find a matching replacement — sizes and shapes vary by toilet model.
- Snap the new flapper onto the pegs, reconnect the chain (leave about half an inch of slack), and turn the water back on.
- Test by flushing and checking whether the running has stopped.
One detail people often overlook: if the chain is too long and gets caught under the flapper, the seal won’t close properly. Trim any excess chain if needed.
Adjusting or replacing the float
If water is spilling into the overflow tube, your float needs to be adjusted downward so the fill valve shuts off before the water reaches that level.
There are two main types of floats you’ll encounter:
| Float Type | How to Adjust |
|---|---|
| Ball float (older toilets) | Bend the float arm downward slightly, or turn the adjustment screw on the fill valve |
| Cup float (modern toilets) | Pinch the clip on the side of the fill valve shaft and slide the float down |
The water level in the tank should sit about one inch below the top of the overflow tube. Once adjusted, let the tank refill and confirm the fill valve shuts off at the right point.
When the fill valve itself needs to be replaced
Sometimes the fill valve is simply worn out and no amount of adjustment will fix it. Signs include a hissing sound that continues after the tank is full, or water that never quite stops running even after you’ve replaced the flapper and adjusted the float.
Replacing a fill valve sounds intimidating, but it’s a straightforward process:
- Shut off the water supply and flush to empty the tank.
- Use a sponge or towels to soak up any remaining water at the bottom.
- Disconnect the water supply line from the bottom of the tank.
- Unscrew the locknut holding the fill valve in place (usually done by hand or with adjustable pliers).
- Pull the old valve out and insert the new one, following the manufacturer’s height adjustment instructions.
- Tighten the locknut, reconnect the supply line, and turn the water back on.
- Flush several times and check for leaks around the base of the valve.
Universal fill valves are widely available at hardware stores and are compatible with most standard toilets.
A practical tip worth keeping in mind
Whenever you open up a toilet tank for a repair, it’s worth inspecting all the components at once. If the flapper is worn, the fill valve might not be far behind. Replacing both at the same time saves you from coming back to do the same job twice.
Toilet repair kits that include a flapper, fill valve, and float assembly are sold as a bundle and often cost less than buying parts separately. For older toilets, this all-in-one approach is especially practical.
What to do if none of these fixes work
If you’ve replaced the flapper, adjusted the float, and installed a new fill valve — and the toilet is still running — the issue might lie with the flush valve seat itself. If the seat (the surface the flapper rests against) is cracked or corroded, no flapper will seal properly against it. In this case, you can try a flush valve repair kit with an adjustable flapper that fits over the damaged seat, or consider replacing the entire flush valve assembly.
At this stage, it’s also worth checking whether the toilet itself is aging. Some older porcelain toilets develop hairline cracks inside the tank that cause slow leaks in ways that aren’t always visible. If your toilet is several decades old and has required repeated repairs, replacement may be more cost-effective in the long run.
The fix that keeps on giving
Sorting out a running toilet isn’t just about stopping an annoying sound. It’s a genuine water conservation measure, a way to lower your utility bill, and a confidence boost for anyone who’s never attempted home plumbing before. Most repairs cost between a few dollars and around thirty dollars in parts, and the tools required — if any — are things most people already have at home.
Once you’ve done it once, the whole process becomes intuitive. You learn to recognize the sounds a healthy toilet makes, and you’ll catch problems earlier the next time around. That’s the quiet reward of fixing something with your own hands — it changes how you relate to the spaces you live in.