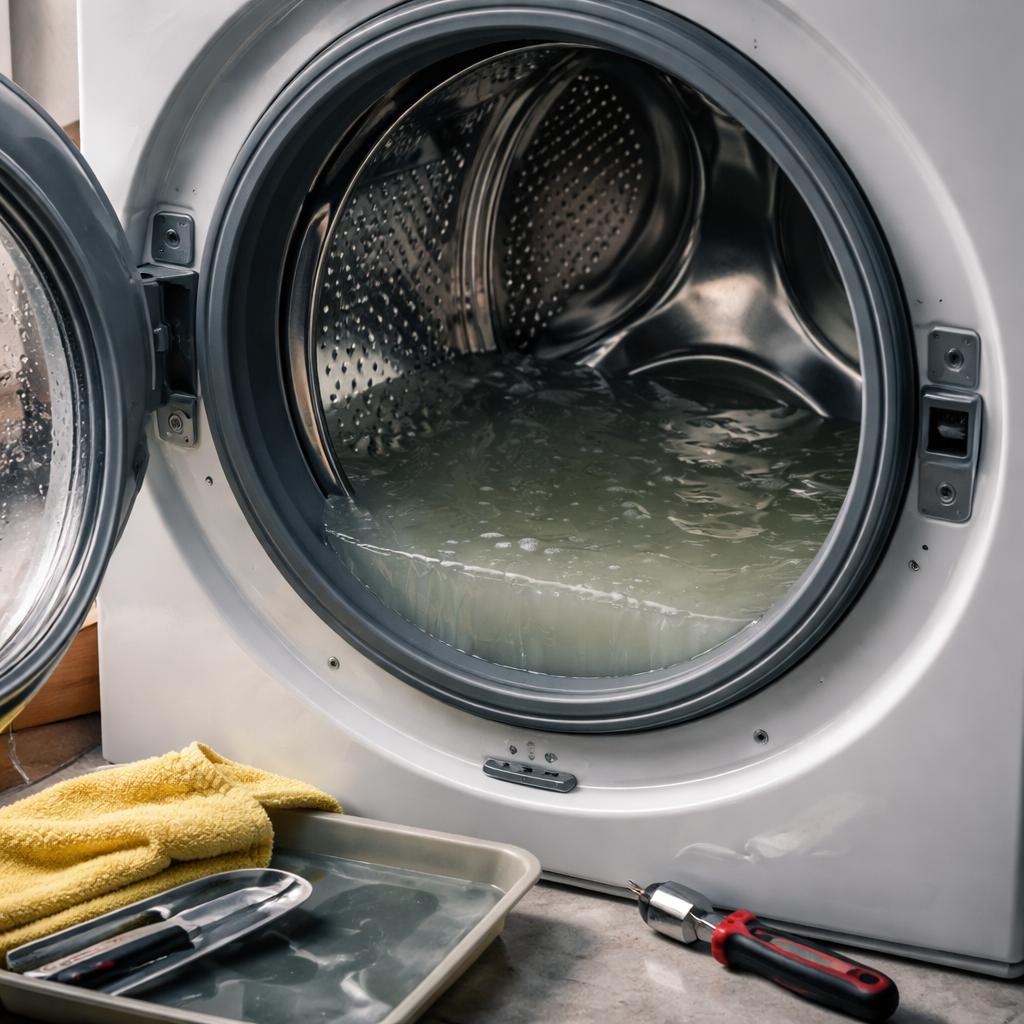
A drum full of standing water after a cycle ends is one of those problems that demands immediate attention — and knowing how to fix a washing machine that won’t drain can save you both a service call fee and a lot of frustration. The good news is that the most common causes are straightforward, and many of them are completely fixable without any specialist tools.
Why washing machines stop draining: the usual suspects
Before reaching for the phone to book a repair, it helps to understand what actually causes drainage failure. In most cases, the problem comes down to one of a handful of repeating culprits — and none of them require you to be technically minded to address.
- A blocked or kinked drain hose
- A clogged pump filter (also called a coin trap)
- A faulty drain pump
- A problem with the lid switch or door latch
- An issue with the control board or cycle selection
The majority of drainage failures are mechanical rather than electrical, which is reassuring — it means the fix is usually something physical you can locate and clear yourself.
Start here: the drain hose and filter check
The drain hose runs from the back of the machine to either a standpipe or a sink trap. Over time it can develop kinks, become partially blocked with lint, or get pushed too far down into the standpipe — which creates a siphoning effect that prevents proper drainage.
Pull the machine slightly away from the wall and inspect the hose along its full length. It should have a smooth curve with no sharp bends. The end inserted into the standpipe should sit no deeper than about 15 cm (6 inches) and ideally be secured at a height of 60–90 cm from the floor.
If the hose end sits too deep inside the standpipe, the machine can siphon water back in as fast as it pumps it out — the drum never empties, and the cycle appears to stall indefinitely.
Next, locate the pump filter. On front-loading machines it’s typically behind a small access panel at the bottom front of the appliance. Top-loaders vary by brand, but the filter is often accessible from inside the drum or near the pump housing. Place a shallow tray and some towels nearby — residual water will spill out when you open it.
How to clean the pump filter
- Unplug the machine from the power supply before doing anything
- Open the access panel and slowly unscrew the filter cap counterclockwise
- Allow water to drain into your tray gradually — don’t rush this step
- Remove the filter completely and rinse it under running water
- Check the filter housing cavity for coins, buttons, hair ties, or debris
- Reinsert the filter firmly and close the panel
A surprising number of drainage problems are solved entirely at this stage. Small objects that slip through pockets — coins especially — are one of the most common causes of pump failure and restricted flow.
When the pump itself is the problem
If the hose is clear, the filter is clean, and the drum still won’t empty, the drain pump motor may be at fault. A functioning pump makes a distinct humming sound during the drain cycle. If you hear nothing — or a grinding, rattling noise — the pump likely needs attention.
You can test the pump by running a spin-only or drain-only cycle and listening carefully. Some machines display error codes when the pump fails; common codes include E3, F21, or 5E depending on the brand. Check your manual for the specific code meanings for your model.
| Symptom | Likely cause | DIY or professional? |
|---|---|---|
| Drum full of water, no noise during drain | Pump motor failure | Professional recommended |
| Gurgling sound, slow drainage | Partial blockage in hose or filter | DIY |
| Water drains but leaves residue | Kinked hose or siphon issue | DIY |
| Error code displayed | Sensor or pump signal fault | Check manual first |
| Cycle stops mid-wash | Lid switch or door latch issue | DIY possible |
Replacing a drain pump is within the reach of a confident DIYer — replacement pumps are available for most major brands and typically cost between $20 and $60. However, if you’re not comfortable working with internal components and water connections, this is a reasonable point to call in a qualified appliance technician.
The lid switch and door latch — often overlooked
On top-loading machines, the lid switch is a safety device that prevents the drum from spinning — and in many models, from draining — unless the lid is properly closed. If this switch breaks or becomes misaligned, the machine may stop before completing the drain cycle even when everything else is functioning normally.
To test it, close the lid firmly and listen for a click. No click often means the switch isn’t engaging. You can visually inspect the plastic tab on the lid that depresses the switch — if it’s broken or worn down, replacing just that tab can restore function without touching the switch itself.
Front-loaders use a door latch mechanism instead. If the door isn’t registering as properly locked, the machine will pause or refuse to advance to the drain phase. Inspect the latch for any visible damage and check that the door seals correctly without needing extra force.
A few practical checks before you call anyone
Always rule out the simplest explanations first. A cycle that was accidentally paused, a selected setting that skips the spin, or a child lock being active can all mimic a drainage fault — and take about ten seconds to fix.
It’s worth running through this quick checklist before assuming the machine has a mechanical fault:
- Check that the cycle wasn’t simply paused or interrupted
- Confirm the selected wash program actually includes a spin and drain phase — some delicate or hand-wash cycles don’t
- Make sure the machine isn’t overloaded, which can prevent the drum from reaching spin speed
- Check if child lock or delay start is activated on the control panel
- Try switching the machine off at the wall for 60 seconds and restarting — a soft reset clears minor control board glitches
Keeping drainage problems from coming back
Once you’ve resolved the immediate issue, a small amount of routine maintenance goes a long way toward preventing recurrence. Cleaning the pump filter every one to three months is one of the most effective habits you can build — it takes less than five minutes and consistently removes the debris that causes blockages before they develop into full drainage failure.
Checking pockets before loading laundry is equally important. Coins, hairpins, and small plastic items are responsible for a disproportionate number of pump and filter issues across all machine types. Running a monthly hot maintenance wash with a washing machine cleaner also helps keep the drum, door seal, and internal hoses free from detergent buildup and limescale — both of which can contribute to sluggish drainage over time.
Washing machines are built to last, and most drainage problems — when caught early — are inexpensive and uncomplicated to resolve. The key is knowing where to look first and not assuming the worst before you’ve checked the basics.