That familiar creak under your foot when you cross the hallway at night is one of those small household problems that somehow becomes impossible to ignore. If you’ve been wondering how to fix squeaky floorboards without tearing up your entire floor or calling a contractor for a job you could handle yourself, the good news is: most cases are completely solvable with basic tools and a clear understanding of what’s actually causing the noise.
Why Floorboards Squeak in the First Place
Before reaching for any tools, it helps to understand the mechanics behind the squeak. Floorboards don’t make noise on their own — the sound is produced by friction. Two surfaces rub against each other as the board flexes under weight, and that friction creates the creak you hear.
The most common causes include:
- Boards rubbing against each other along their edges
- Nails that have worked loose from the subfloor or joists over time
- A gap between the floorboard and the subfloor beneath it
- Wood that has dried and shrunk due to changes in humidity
- Missing or insufficient bridging between floor joists
Identifying which cause you’re dealing with makes the fix much more straightforward. In many homes, the problem is simply seasonal — wood expands in summer and contracts in winter, which loosens fixings over time and creates movement where there previously was none.
Diagnosing the Squeak: Finding the Exact Spot
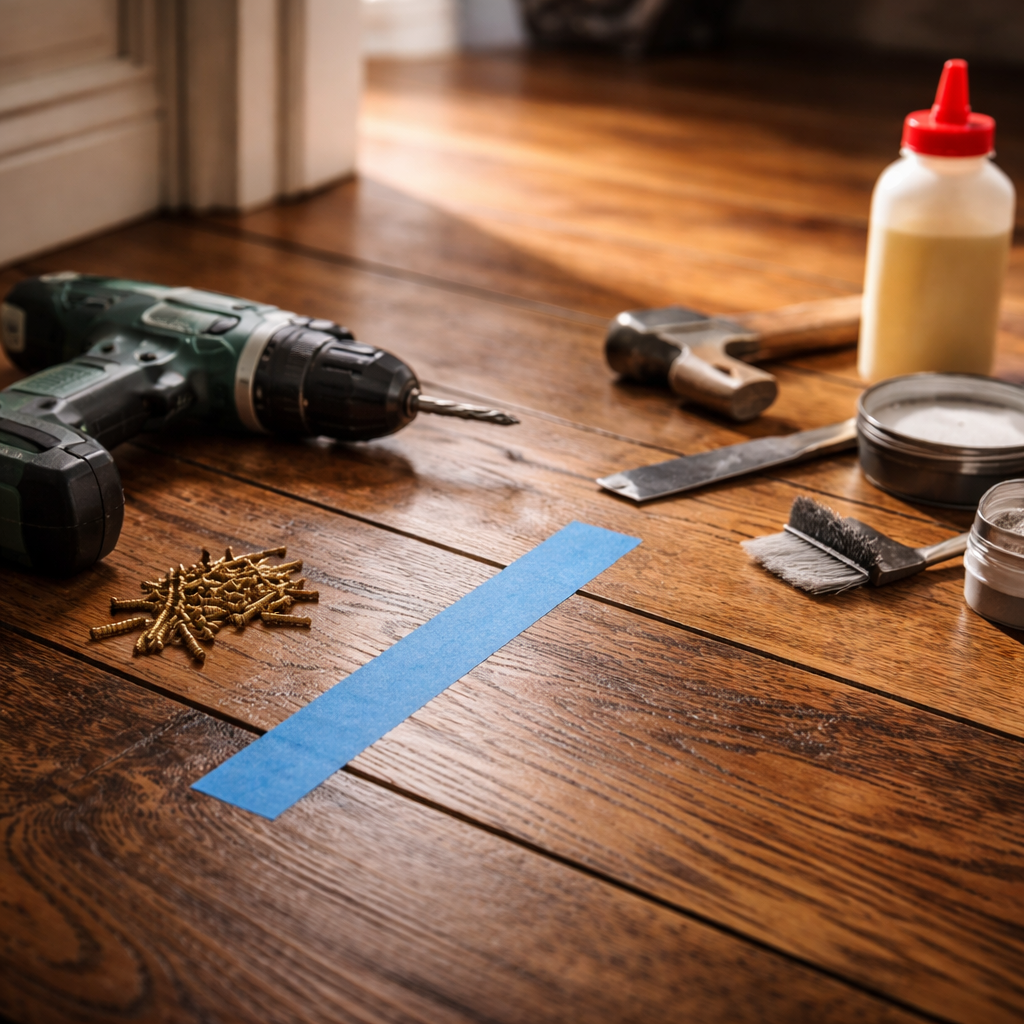
Walk slowly across the affected area and listen carefully. Try to pinpoint not just which board squeaks, but exactly where along that board the sound originates. Mark the spot with a piece of painter’s tape — it saves a lot of frustration later.
If you have access to the floor from below (a basement or crawl space), have someone walk across the floor while you watch from underneath. You’ll often be able to see the movement directly — a board lifting slightly, or a gap opening and closing between the floorboard and the joist.
A squeak that only happens in winter usually points to wood shrinkage. One that’s present year-round is more likely a structural issue — loose nails, missing support, or a board that was never properly secured.
Fixes You Can Do From Above (Without Lifting the Floor)
Most people don’t have basement access, and pulling up floorboards is often not practical. Fortunately, there are several effective approaches that work entirely from the surface.
Lubricating the joint
One of the simplest solutions is to reduce friction between boards by working a dry lubricant into the joint. Talcum powder, powdered graphite, or even baking soda can be sprinkled along the gap between boards, then worked in by placing a cloth over the area and walking on it. This won’t fix structural issues, but it’s a quick remedy for boards that rub side to side.
Screwing through the surface
When the squeak comes from a board that’s lifting slightly off the subfloor, driving screws through the surface is one of the most reliable fixes. Use wood screws that are long enough to reach the joist below — typically around 50–65 mm. Countersink the screw heads slightly below the surface and fill with wood filler matched to your floor colour.
Before drilling, locate the joist beneath the board using a stud finder. Screwing into solid timber rather than just the subfloor will hold the board down firmly and stop the movement that causes noise.
Using a purpose-made repair kit
Several manufacturers produce kits designed specifically for this problem. These typically involve a pilot drill bit with a depth collar and break-off screws that snap off below the surface of the board, leaving no visible trace. They work well on hardwood floors where appearance matters and the traditional screw-and-fill approach would be noticeable.
| Method | Best For | Skill Level | Visibility of Repair |
|---|---|---|---|
| Talcum powder / graphite | Light squeaks, edge friction | Beginner | None |
| Surface screws + filler | Boards lifting from subfloor | Intermediate | Minimal if matched well |
| Break-off screw kit | Hardwood or finished floors | Intermediate | Very low |
| Repair from below | Accessible basement or crawl space | Intermediate | None |
When You Have Access From Below
Working from underneath the floor opens up additional options and often produces a cleaner result since nothing needs to be done to the visible surface at all.
If the board is lifting away from a joist, the classic approach is to drive a short screw up through the joist into the subfloor — be very careful about the screw length here. You want it to grip the floorboard firmly without punching through the surface. Measure the combined thickness of the subfloor and floorboard before you drill anything.
For a gap between the subfloor and joist that’s causing flex, a thin wooden shim coated in wood glue can be tapped gently into the space. Don’t force it — the aim is to fill the gap snugly, not to widen it. Once the glue sets, the movement stops and so does the noise.
Special Considerations for Different Floor Types
Solid hardwood floors, engineered wood, and older pine boards each behave a bit differently, and the right approach depends on what you’re working with.
Older homes with traditional tongue-and-groove pine boards tend to develop squeaks more frequently because the wood has had decades to dry out and the original nails have loosened. In these cases, the screw-through-surface method is often the most practical, though matching the filler to aged wood can require some trial and error.
Engineered wood flooring is a different matter. Because it’s a layered product, it responds poorly to being screwed through the surface unless you’re confident you can reach a joist. The lubricant approach is worth trying first, and if the floor is floating (not glued or nailed to the subfloor), the squeak may actually be coming from the underlay rather than the boards themselves — replacing or repositioning the underlay in the affected area often solves it entirely.
With laminate floors, it’s worth checking whether the boards have adequate expansion gaps around the perimeter of the room. If the floor has no room to expand, boards can buckle slightly and create friction between them — adding or restoring those gaps around skirting boards can eliminate the noise without touching the floor surface at all.
When a Simple Fix Isn’t Enough
Most squeaky floor repairs are manageable as DIY projects, but there are situations where professional assessment makes more sense. If the squeaking is accompanied by visible movement, soft or spongy spots in the floor, or if multiple boards across a large area are affected, it’s worth having a builder or flooring specialist take a look. Widespread squeaking can sometimes signal moisture damage to the subfloor or joists, which is a structural issue that goes beyond simple noise reduction.
Similarly, if your home is older and the floor joists haven’t been inspected in many years, the squeak might be the first noticeable sign of something that warrants a closer look from below — not because it’s necessarily serious, but because it’s worth knowing what you’re working with before applying surface fixes.
Small Fix, Big Difference
A squeaky floor is one of those things that’s easy to live with until suddenly it isn’t. Whether it’s waking a sleeping child, echoing through the house at midnight, or just grinding on your nerves after the hundredth time, fixing it tends to feel far more satisfying than its size as a problem would suggest. With a clear diagnosis and the right approach for your floor type, it’s genuinely one of the more rewarding home repairs to tackle — low cost, low risk, and completely noticeable the moment it’s done.