Most people assume that learning how to make a sourdough starter requires either professional baking knowledge or some kind of inherited kitchen intuition. In reality, it takes just two ingredients, a bit of patience, and an understanding of what’s actually happening inside that jar on your counter.
What a sourdough starter actually is
A sourdough starter is a live culture of wild yeast and lactic acid bacteria that ferments naturally. Unlike commercial yeast, which is a single strain produced in a factory, a starter captures microorganisms from your flour and your environment. This is why starters in different cities — even different kitchens — develop slightly different flavors. The fermentation process produces carbon dioxide (which makes bread rise) and organic acids (which give sourdough its characteristic tang).
Understanding this biological process helps you troubleshoot problems and make smarter decisions at every stage. You’re not following a recipe blindly — you’re managing a small, living ecosystem.
What you need before you begin
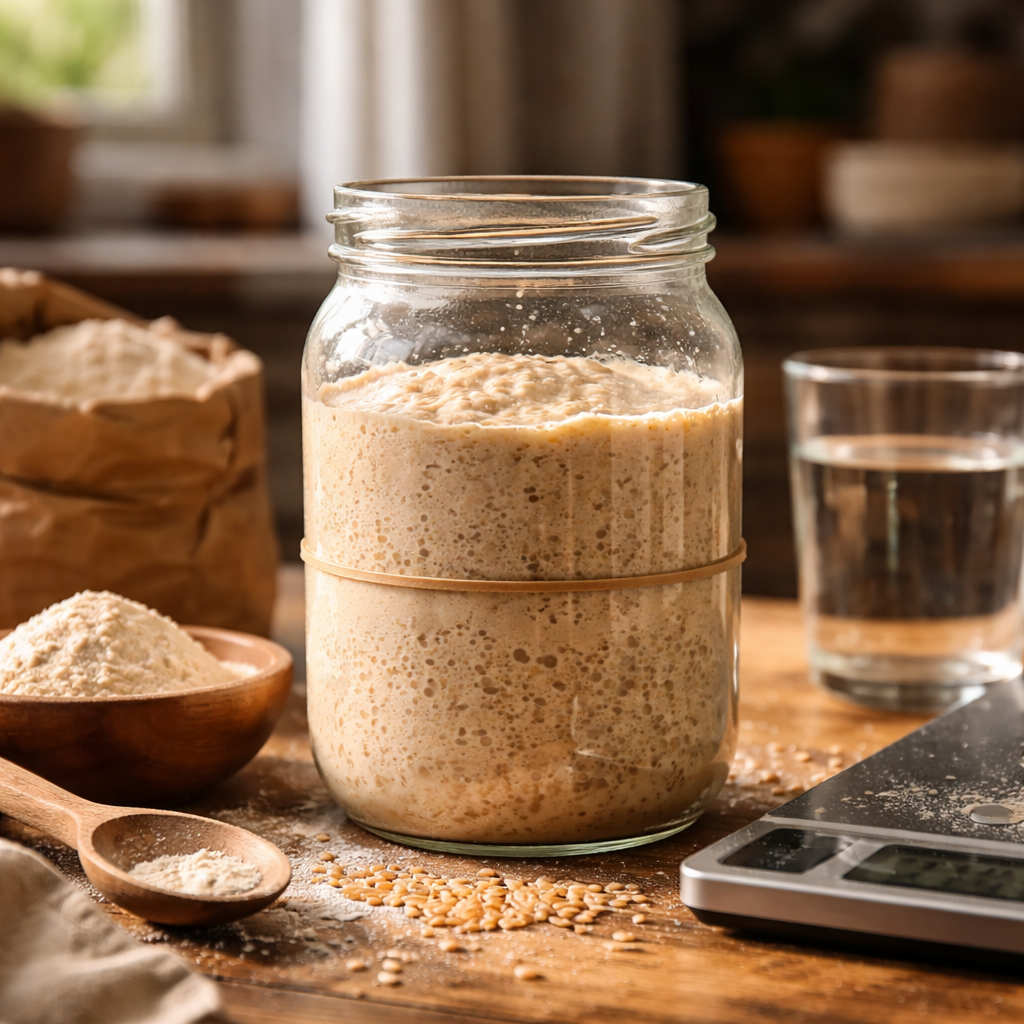
The ingredient list is refreshingly short, but the details matter more than most beginners expect.
- Flour — whole wheat or rye flour is strongly recommended for the first few days, as it contains more wild yeast and nutrients than all-purpose white flour. After the starter is established, you can switch or blend flours.
- Water — use filtered or room-temperature tap water that has been left to sit for 30 minutes so any chlorine dissipates. Chlorine can inhibit fermentation.
- A clean glass jar — at least 500 ml capacity, with no soap residue. Bacteria are sensitive to detergents.
- A kitchen scale — measuring by weight (grams) gives you consistency that cup measurements simply cannot.
Temperature is the hidden variable that most guides underemphasize. Wild yeast is most active between 24°C and 27°C (75–80°F). A colder kitchen will slow fermentation significantly, while a very warm one can push the culture toward over-fermentation before you notice any visible activity.
Day-by-day feeding schedule
The process unfolds over roughly 7 days, though some starters take up to 14 depending on conditions. Here is what to expect and what to do at each stage.
| Day | What to do | What to expect |
|---|---|---|
| 1 | Mix 50g whole wheat flour + 50g water in a jar. Cover loosely. | Little to no activity. That’s normal. |
| 2 | Discard half. Add 50g flour + 50g water. | Possibly some small bubbles. Smell may be unpleasant — also normal. |
| 3–4 | Repeat discard and feeding once daily. | Activity increases. You may see the mixture rise slightly. |
| 5–6 | Feed twice daily if the starter peaks and collapses quickly. | More consistent bubbling, a tangy or yeasty smell emerging. |
| 7 | Test readiness with the float test or observe doubling behavior. | A healthy starter doubles within 4–8 hours of feeding. |
The discard step often confuses newcomers — why throw away perfectly good culture? The reason is practical: without discarding, you’d need exponentially increasing amounts of flour to feed a growing volume of starter, and the acidity would build to a level that kills off the yeast. Discarding keeps the system balanced.
The discard isn’t waste — many bakers use it for pancakes, crackers, flatbreads, and waffles. Keep it in a separate container in the fridge and use it within a week.
How to tell if your starter is ready to bake with
Visual observation is your most reliable tool. A ready starter should at minimum double in volume within 4 to 8 hours after feeding at room temperature. It should show a domed top at its peak, with visible bubbles throughout the mixture — not just on the surface.
The float test is often cited as a quick check: drop a small spoonful of starter into a glass of water. If it floats, it contains enough gas to leaven bread. If it sinks, it needs more time or another feeding cycle. Note that the float test is a rough indicator, not a guarantee — some active starters sink due to their hydration level.
Common problems and what they actually mean
A layer of dark liquid forming on top of your starter is called “hooch” — it’s simply alcohol produced by hungry yeast and a sign that your starter needs feeding sooner. It is not mold, and it doesn’t mean your starter is ruined. Just stir it back in or pour it off and proceed with a regular feeding.
Pink or orange streaks, on the other hand, are a sign of harmful bacterial contamination. In this case, it’s safer to discard everything and start fresh with a clean jar. This is rare when basic hygiene is maintained.
A starter that smells strongly of acetone or nail polish remover has been left too long without feeding and is over-acidified. It can usually be rescued with a few consecutive daily feedings at a higher flour-to-starter ratio, such as 1:5:5 (one part starter, five parts flour, five parts water).
Long-term storage without daily feeding
Once your starter is established, you don’t need to feed it every day unless you bake frequently. Storing it in the refrigerator slows fermentation dramatically — a cold starter only needs feeding once a week. When you want to bake, take it out, let it reach room temperature, feed it, and wait for it to peak before using.
For very long storage — months or even years — bakers dry their starters by spreading a thin layer on parchment paper and letting it air-dry completely, then crumbling it into flakes stored in an airtight container. Dried starter can be rehydrated and revived even after long periods of inactivity.
The first bake changes everything
Once you’ve baked your first sourdough loaf with a homemade starter, the process stops feeling like a science experiment and starts feeling like a skill. The relationship between fermentation time, dough hydration, and flavor becomes intuitive over time. Bakers who work with sourdough regularly often describe it as one of the most rewarding cooking habits they’ve developed — not because it’s complicated, but because the results are genuinely better than anything you can buy, and the process rewards attention rather than speed.
Start simple, keep notes, and don’t discard a struggling starter too quickly. Most problems are solvable with one or two adjusted feedings. The culture you build in the first week is one you can maintain for years.